
Behind the Scenes: How I Hand-Paint My Tote Bags
I find inspiration for my projects in so many different ways. Sometimes I spot a pair of shoes and imagine how I could recreate that vibe on a tote, or I see a hat and wonder how it might translate into a painted design. Other times, I’m wandering the aisles of Hobby Lobby (one of my favorite places on earth!) and stumble upon a bead or embellishment that sparks a new idea.
I’m constantly taking photos of things that inspire me and keeping a running list of design ideas. I always say: “So many ideas — so little time!”
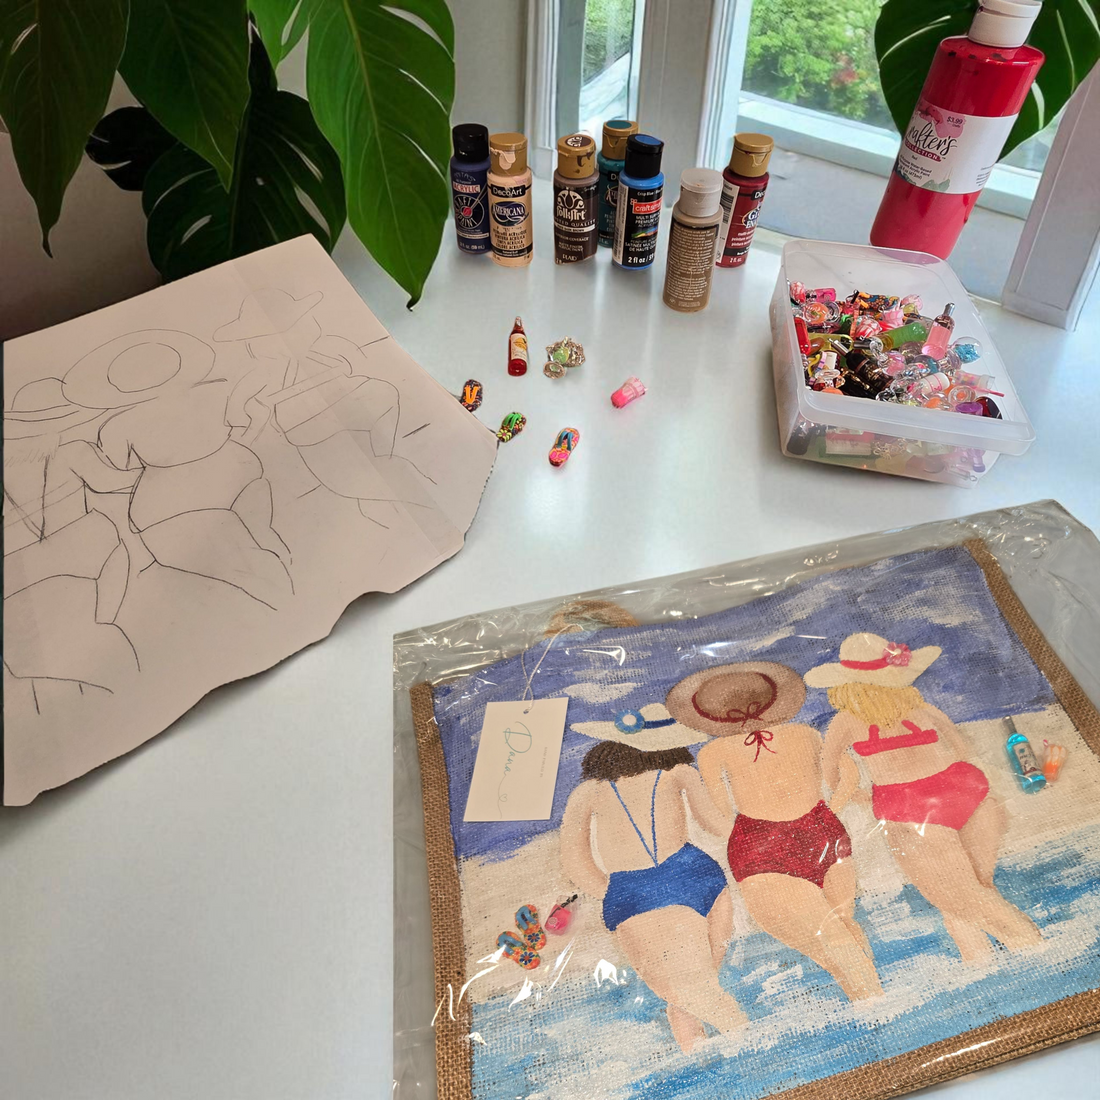
Sketching the Design
Next, I sketch my design on paper. I’ve learned it’s much easier to reproduce a design when it’s planned out on paper first, rather than improvising directly on the bag or canvas. Once I’m happy with the sketch, I trace it onto a bag I’ve already prepped by taping, applying a base coat, and painting the background.

Choosing the Colors
Then comes one of my favorite parts: selecting the colors! I naturally gravitate towards bright, happy colors, but not every color combination works well together — sometimes it takes a few tries to get it right. Some colors also need extra coats to fully cover the background and achieve the look I want.

Adding the Embellishments
Once the painting is finished, it’s time to add embellishments — my absolute favorite step. Sometimes I plan the embellishments while designing, and other times I search through my collection to find the perfect beads, ribbons, charms, or other elements. Over the years, I’ve accumulated a huge assortment of embellishments, and I love how they make each tote truly unique.

Applying the Resin
After adding the embellishments, the bags move to my resin table. I always complete this step at night, so the bags can cure undisturbed overnight. Resin must be mixed precisely — it comes in two parts that need to be measured exactly and mixed for at least three minutes. If it’s not mixed correctly, it won’t cure properly. Once applied, the bags stay in place for at least 12 hours to fully set.
Finishing Touches
When the resin has cured, I add my branded tags, take plenty of photos, and document the colors and embellishments used so I can recreate the design if needed. Finally, I package the bags carefully in protective bags so they arrive in perfect condition for my customers.

Thank you for joining me behind the scenes — I hope you enjoyed this peek into how I create each unique, hand-painted tote!
If you have any questions about my process or ideas for future designs you’d love to see, please drop a comment below — I’d love to hear from you!
Warmly,
Dana